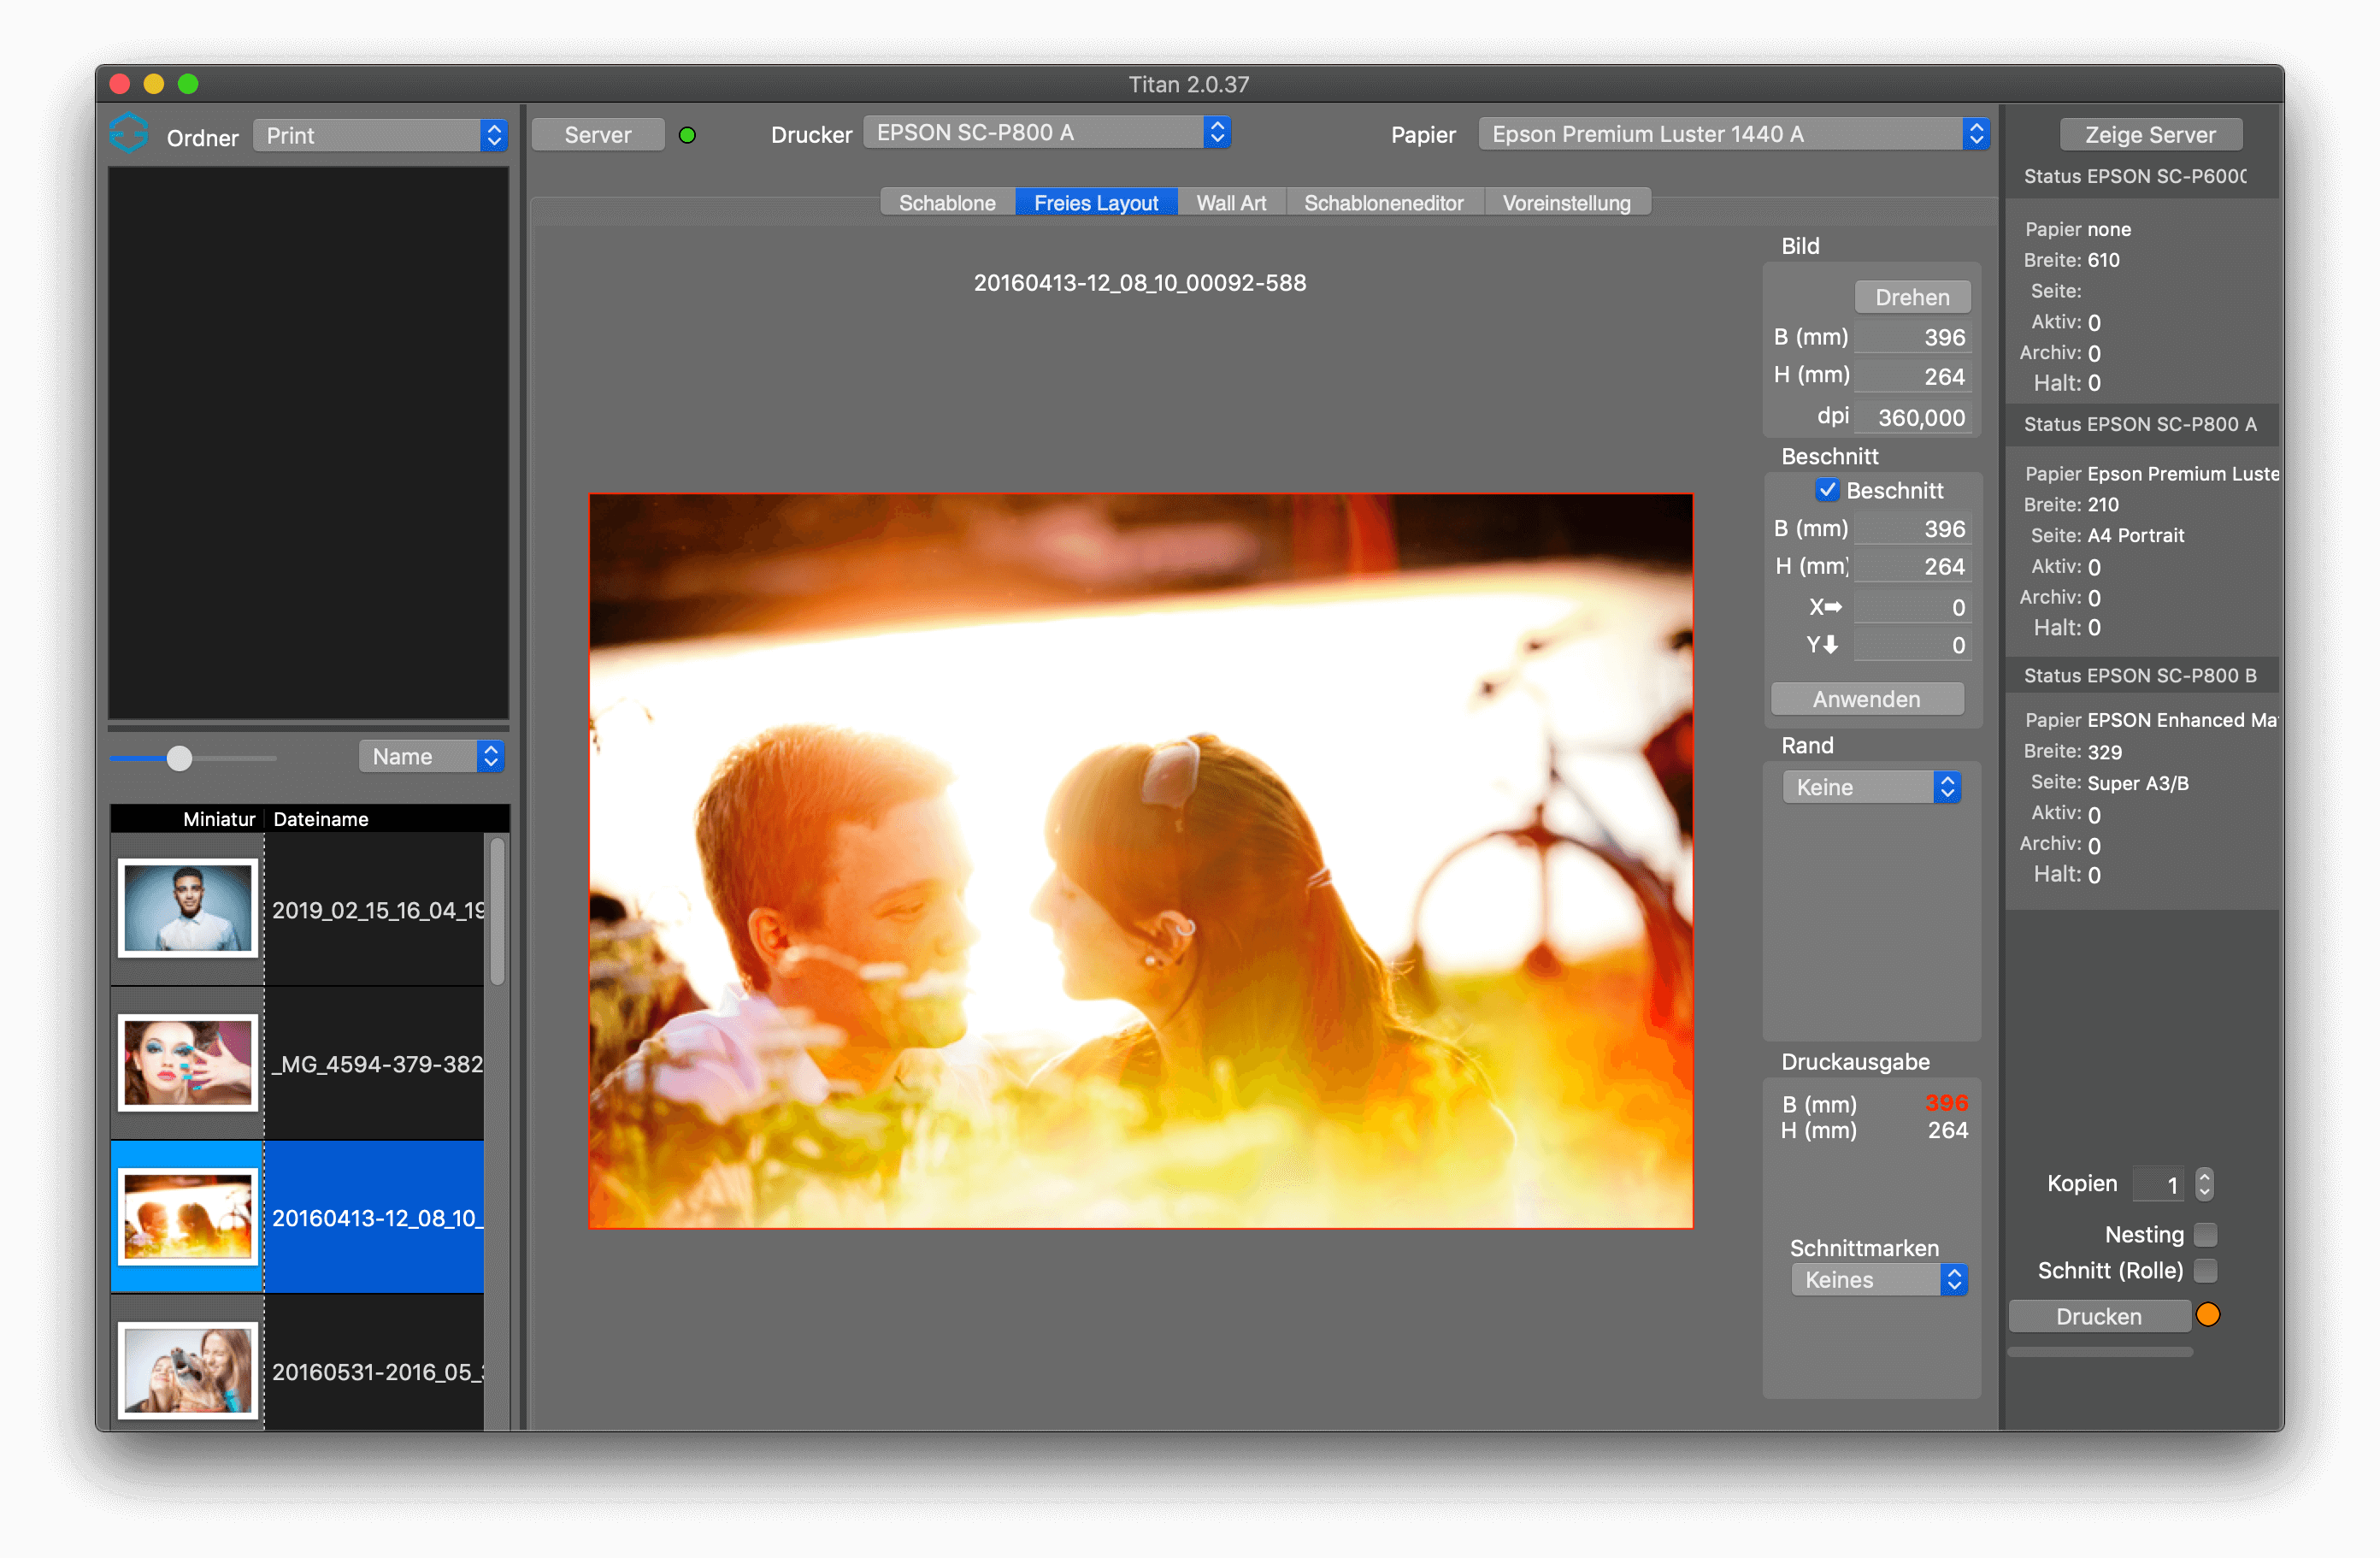
Free layout
Free layout allows you to print images of any size, with canvas borders or a custom passepartout. In Free Layout only one image can be processed at a time. If you want to print a larger number of images, it is recommended to do this using templates.
Rotate
The Rotate button can be used to rotate the image 90 degrees at a time. Please note that the Gemini12 server can rotate the image itself to save material if the appropriate setting has been made on the server.
Image size
To adjust the image sizes accordingly, simply enter the appropriate values for width and height. The image will always keep its aspect ratio, if you want a different size you can crop the image.
Bleed
Here you can select a section of the image to be printed.
The easiest way is to first enter a section in height and width and then position it accordingly with the mouse. The cropping helps to define an exact size for an image in order to print it e.g. for a certain picture frame. The red frame shows the exact cutout. If you are satisfied, confirm the setting and only the cropping itself will be shown in the preview. The original image on your hard disk will not be affected. You can combine the bleed with a border, for this you must first define the bleed and then the border.
Edge
There are three different ways to define a border, by default no border is defined, the other two ways are Equal or Custom.
Identical borders can be either mirrored or selected with a color. A mirrored border is recommended if you want to print a canvas. Simply select the colour using the black rectangle next to the colour selection.
Print logo on the image
If you have selected to print a logo (PNG) in the preferences, it will be printed either in the image itself or on the selected border.
Print version
In the print output you can see how large the printout will be including the margin. Here you can also set crop marks to make it easier to cut out an image with white background. The length of the cut marks can be specified in mm.
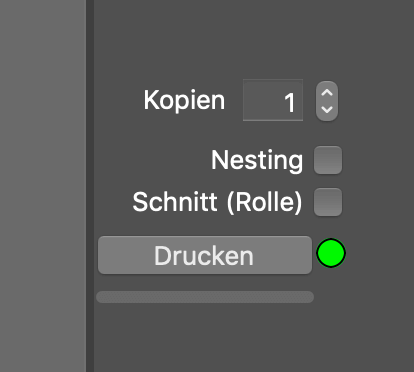
Print button
Above the print button you can determine how often the image should be printed. This number is reset to 1 after each print job.
Print button: Nesting
The selection Nesting allows the printer to place the images on the selected media in a material-saving way. The images are rotated and arranged differently in the queue in order to be printed on the selected medium as economically as possible. Nesting offers the possibility to print individual different formats together without having to create a template.
Please note that if you have not selected Nesting, each image will be printed individually. If you forgot to select Nesting, you can later merge them into a non-started queue on the server.
Automatic paper cut (roll)
Auto cut can be selected if you want the printer to cut the media at the end of printing, but only for roll printers with a built-in cutting tool. The setting may be intentionally or unintentionally overridden by the configuration on the server. If you need changes here, please contact your support engineer.